Welcome to the last of our three part series: How to take good photos. If you missed the why and the what, make sure you check them out.
- Choose a location – If you have a large window that you can place a table or chair next to, you can take advantage of the natural light. It’s best if you have an area that can be dedicated to taking photos so setup is easy (but not necessary).
- Set up your background – It’s best to use a white background or “sweep” which will avoid distracting from the product. You can use white craft paper or poster board – thin enough so it sweeps but thick enough so it doesn’t wrinkle easily.
- Set up your lighting – The goal is to get enough light so that details of the product can be seen clearly while reducing shadows as much as possible. Decide whether to use natural or artificial light. If you choose natural, try to shoot at the brightest time of day. Diffuse the light if it’s too harsh with a curtain, white paper or diffuser. Use black and white bounce cards to help move light around and fill shadows. If natural light is not an option, consider purchasing a lightbox. You will need at least two light sources to evenly distribute the light and decrease shadow. The plus side to artificial lighting is that you can take consistent photos any time of the day and regardless of weather.
- Set up your product – Clean and prep your product. Remove any price tags. Place is so it’s centered within the frame of the shot.
- Set up your camera – A DSLR or mirrorless camera is technically best, but these days your smartphone is almost as good. Either way, use a tripod for stability—it’s the best way to ensure your product photos will be clear, in focus, and consistent. Use a remote or timer to avoid any movement of the camera when taking the shot. Also, make sure your lens is clean! There’s nothing worse than a blurry photo from a finger smudge.
- Take your photos – Shoot a variety of images at different angles to give customers as much visual information as possible. For best results, move the product, not the camera. Also, avoid zooming as image quality reduces as you zoom. Either move the camera closer or use a macro lens.
- Retouch – Getting steps 1-6 right will make the retouching process much simpler. You should only need to make basic adjustments such as brightness, contrast, sharpness, highlights/shadows, and white balance. Avoid adding any stylized filters as the goal is to get as close to an accurate representation as possible. Some popular apps for retouching are Lightroom and Snapseed.
Getting all these details right may take some trial and error but don’t be intimidated! Once you have a good system down, create detailed guidelines for consistent product photos. Your product page can quickly feel disorganized if images are different sizes, have different lighting, different backgrounds, etc. Consistency is key.
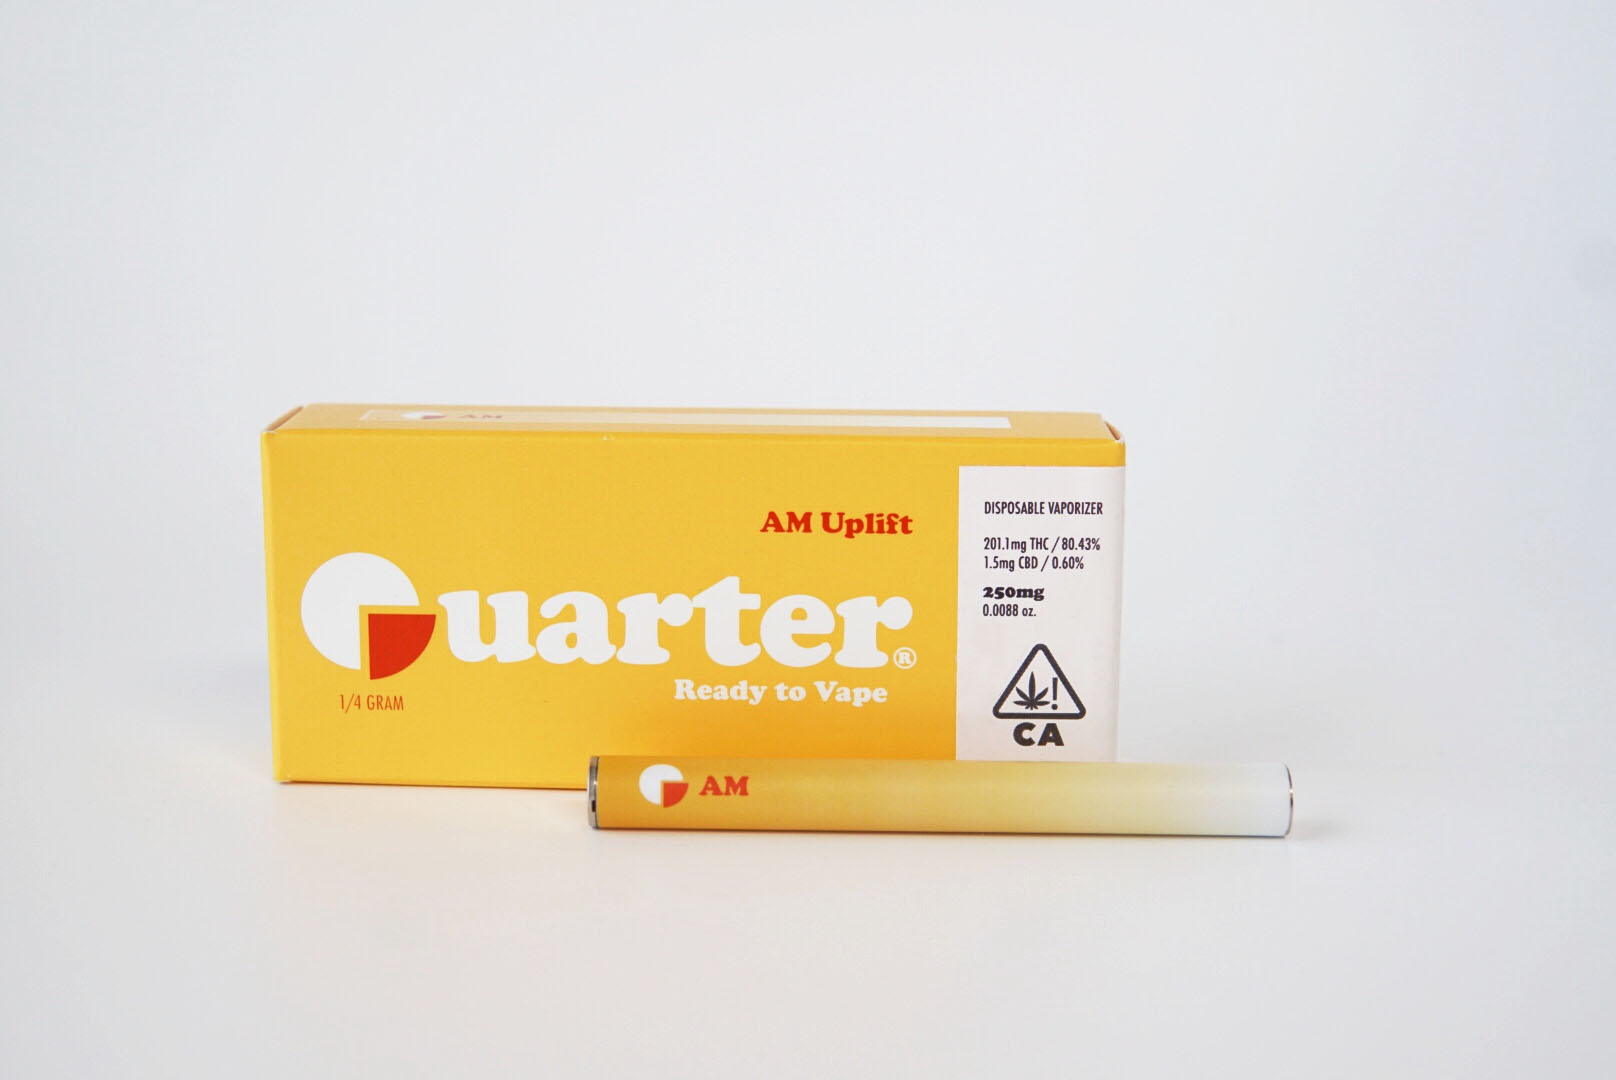
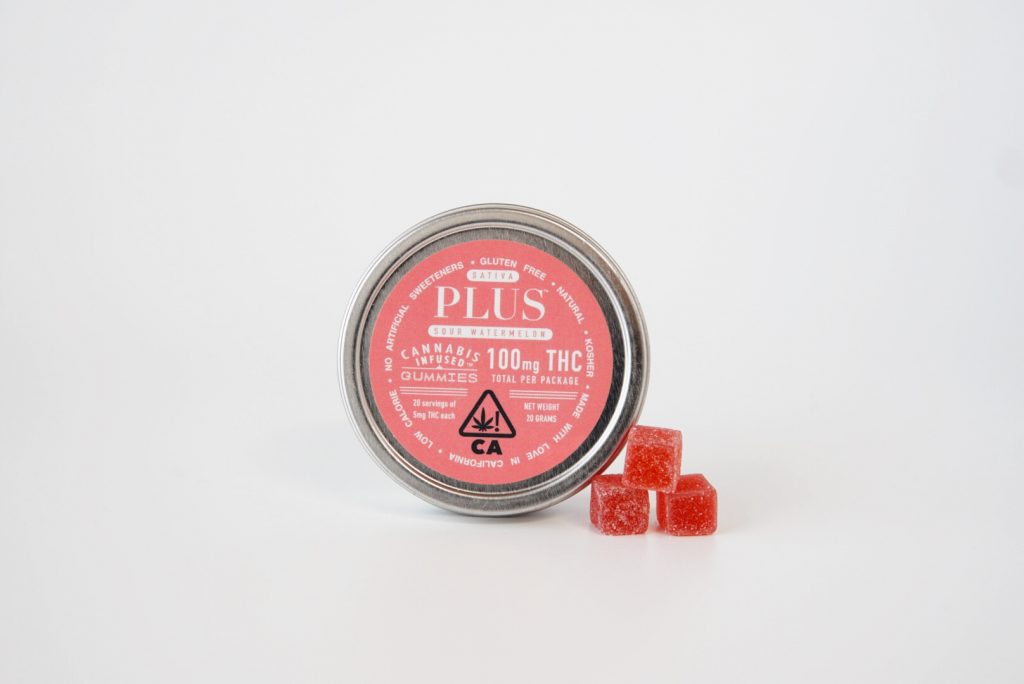
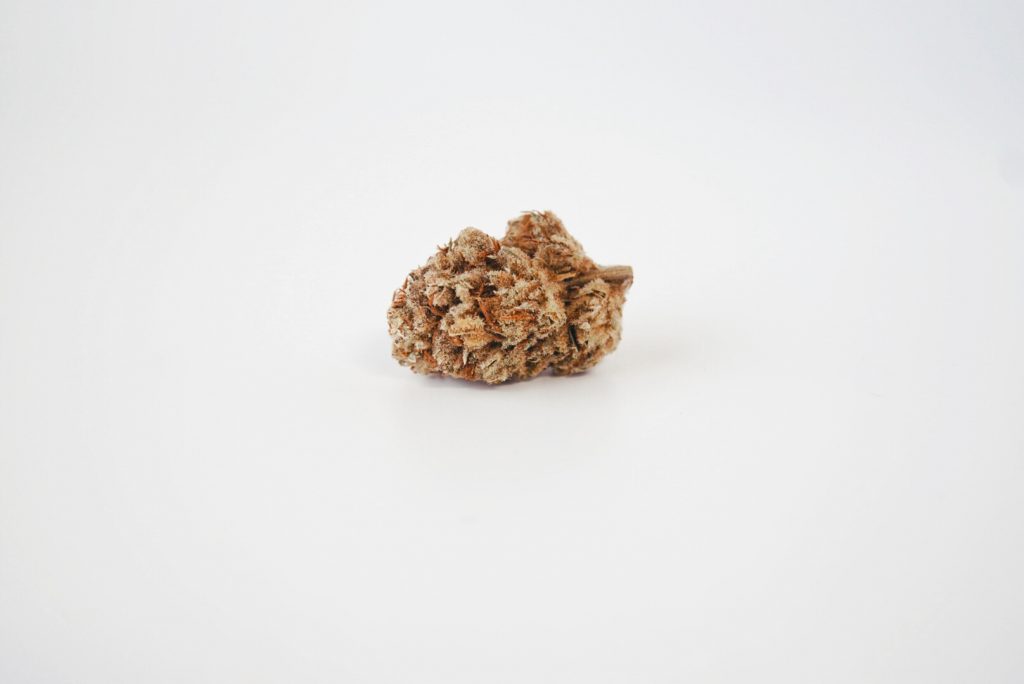
Here are some photos we took from the setup we showed you in the last post.

Thanks for following along!